How to start to organize photos
Step by step guide to help you start with Phototheca

1. Don’t get confused by this welcome screen — you’ll get your photos here in moments
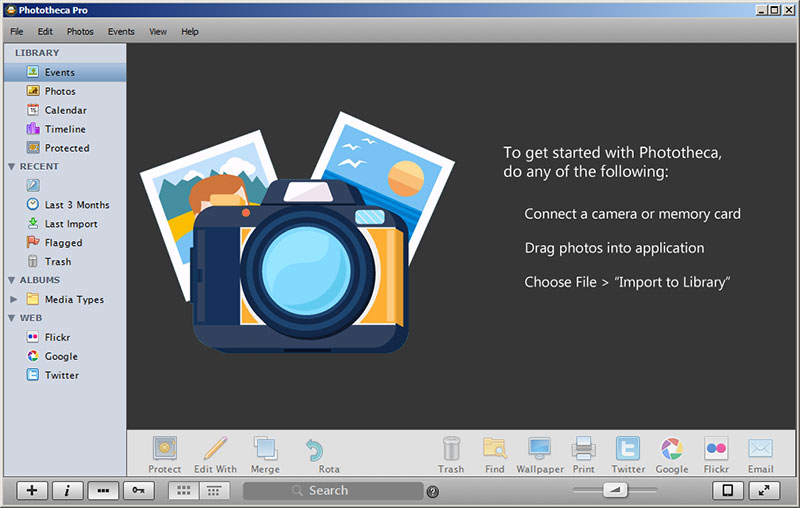
When you run Phototheca the first time or have an empty library — you always see this welcome screen with hints on how to start. Let’s begin.
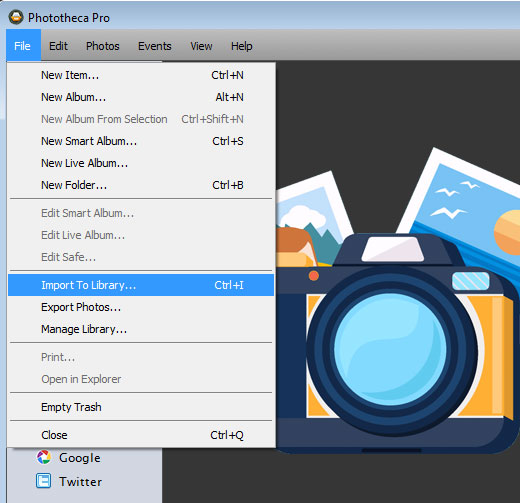
2. Open import dialog
Go to Menu File->Import To Library to open import dialog.
3. Browse to your photos folder
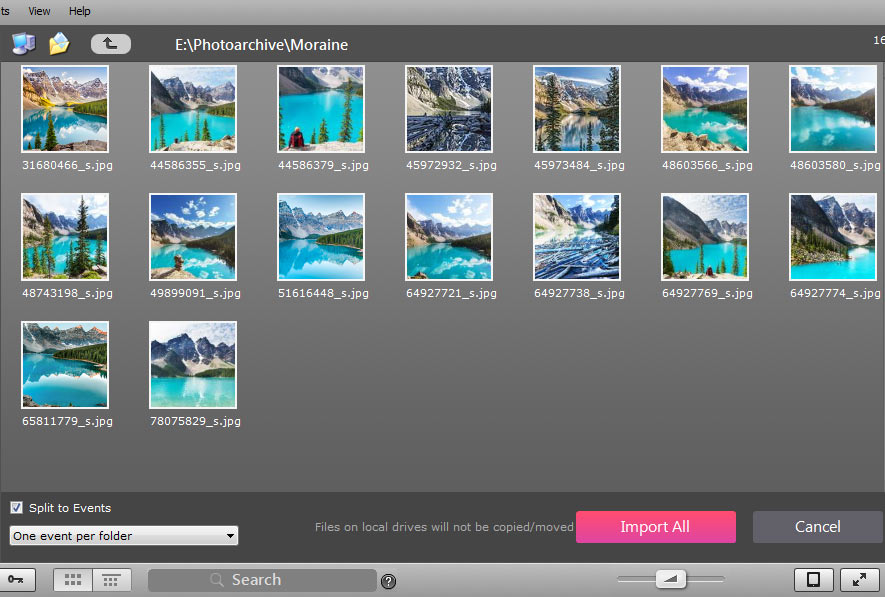
At this dialog, you can browse your disks and folders, find a folder with a few or all your photos and select what you would like to import. You may select both folders and image files, a single or multiple items.
4. Define your events creating strategy
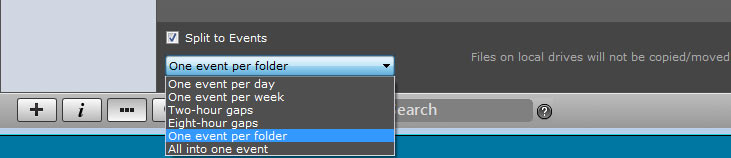
Now it’s time to use the intelligence of Phototheca before start an import process. Phototheca knows six ways to combine your photos into events. You may select one of the ways you prefer. If you have your folders structure in order and want Phototheca to stick with an order you have – keep the option “One event per folder” (default). If you have some mess in files and folders that contain multiple events inside — let Phototheca split such photos into separate events based on the time of a photo. If you select “One event per day” — this means all photos are shot during a single day to go into one event. And so on.
5. Wait for a while until import is over

Import time strongly depends on your PC’s performance, size of photos and amount. Drink a cup of coffee or tea while Phototheca is working for you. Another hint – if you have a huge photo collection and it takes a lot of time to import – leave a PC to work overnight.
6. Review the results
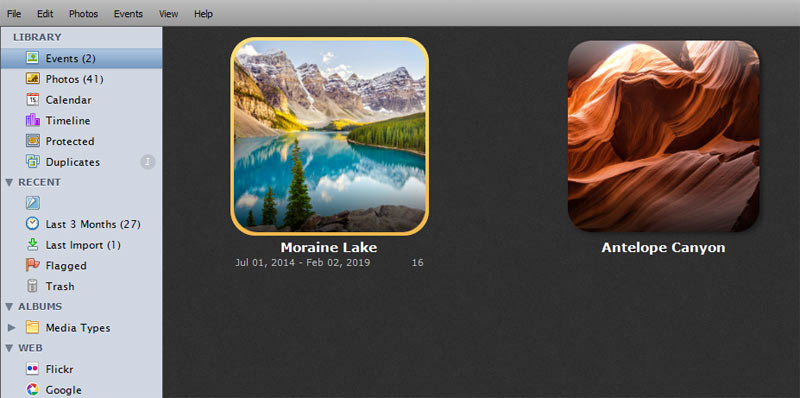
When an import is over – Phototheca opens the “Last Import” section and shows the result of the last import. Click on the “Events” section to review your full set of events.
7. Create Albums with chosen photos

An Album lets you gather together photos from different events if you would like to have them in a single place. Photos remain inside original events when you move a photo into an Album. For instance, you can have many photos inside events with your pet and have separate albums with a pet’s photos only. Let’s create the album with photos of Moraine Lake. Go to menu File->New Album…
Enter the album’s name
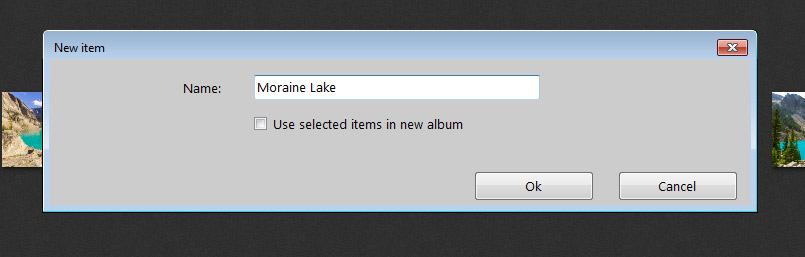
Specify here a name for your new album. An Album with this name appears under the Library’s Albums section.
8. Move photos from an event into an album

While being inside an event with photos, you can select single or multiple photos with Ctrl or Shift + mouse click. Then do a usual drag&drop move starting on any selected photo and point the cursor over the album on the left pane. Drop photos and they immediately appear inside the album. Phototheca does not copy files at this point – so you don’t create duplicates on your disk when you put photos into an album.
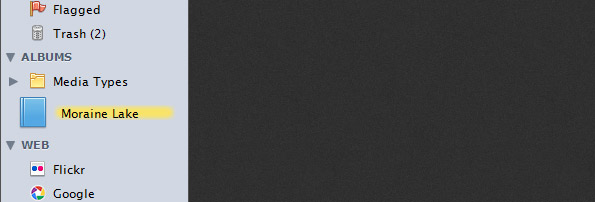
9. Open the album
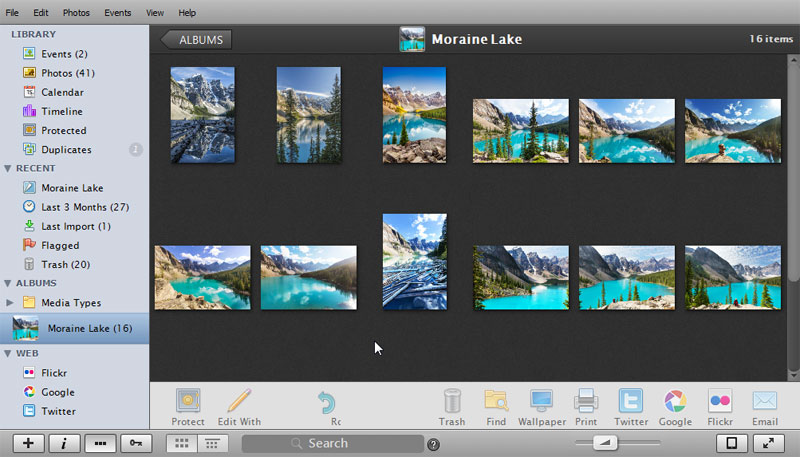
Click with the mouse on the newly created album – it’s content is displayed immediately.
10. Tagging photos with keywords
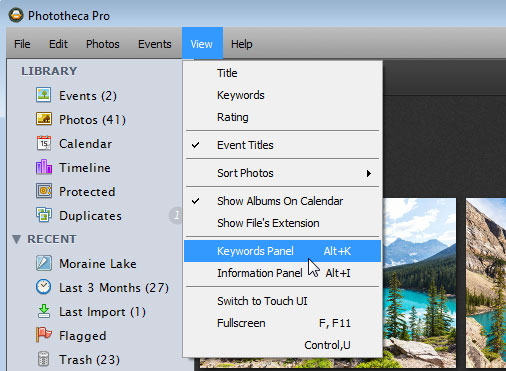
Keywords are a useful way to organize your photo collection. Let’s learn how to tag photos with keywords. First – open keywords panel with menu item View->Keywords Panel or click on the button with the “key” icon (left-bottom corner of Phototheca).
Apply the keyword
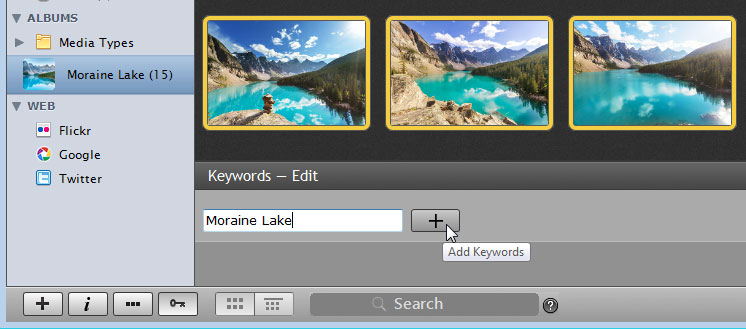
When keyword panel is opened – highlight one or multiple photos you want to tag with a keyword. Type a keyword in the textbox, for instance, “Moraine Lake”, as in our example. Click “+” button. Phototheca starts to write keyword into files. Keywords are being written in both IPTC and XMP sections of metadata.
Search for photos by keyword

Now, when you have your photos tagged with different keywords, you can use the instant search for those photos. Type in a keyword into the search box, staying in any part of a Library, hit “Enter” key. Search results will appear immediately.
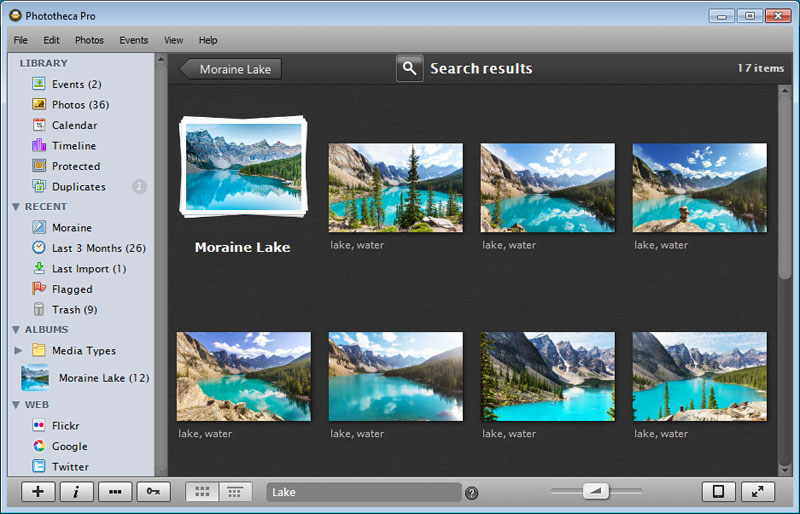
Search results include events that have the typed search phrase in a title and photos that have this keyword or a search phrase in a title.
11. Grow your own stunning photo library.
Now it’s time for you to organize thousands of your photos and build a great home for your memories!