To add location data to a photo or a group of pictures, select one or several images and click the “Assign a Location” button on the Info Panel:

Let’s say you have these three photos of a sunset you shot on Santa Monica Pier in Santa Monica, CA. Your camera has no GPS chip, and images appear not geo-tagged. Click the “Assign a Location” button, and the text field will appear:
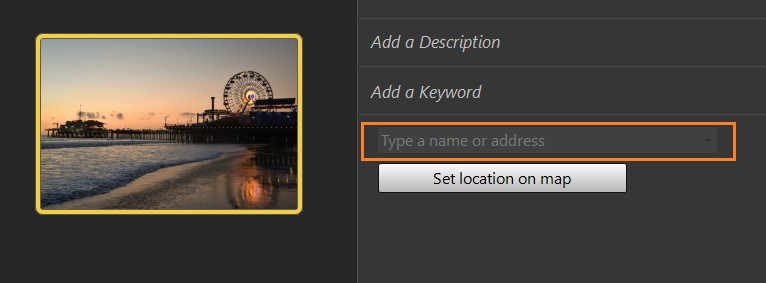
Start typing the name of the location, for example:
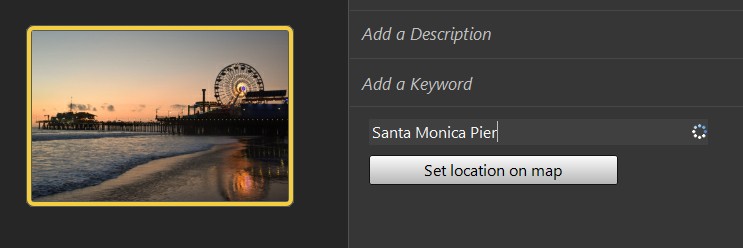
In a moment, Phototheca will start lookup in a catalog of all places in the world for a few of the best possible matches to the text you typed. And you would be presented with a list of the best matches to choose from:

If you recognize a proper location in the list – just click it. If there are no suitable options in the list, try refining your search by typing a more specific name or description of the place. Phototheca knows almost all places and landmarks worldwide, and the chance of finding a location with the search is pretty high.
When you click a proper location in the list, the following things happen:
- Phototheca writes an address of a location into the IPTC section of the metadata
- Phototheca writes the coordinates of a location into the GPS section of the metadata
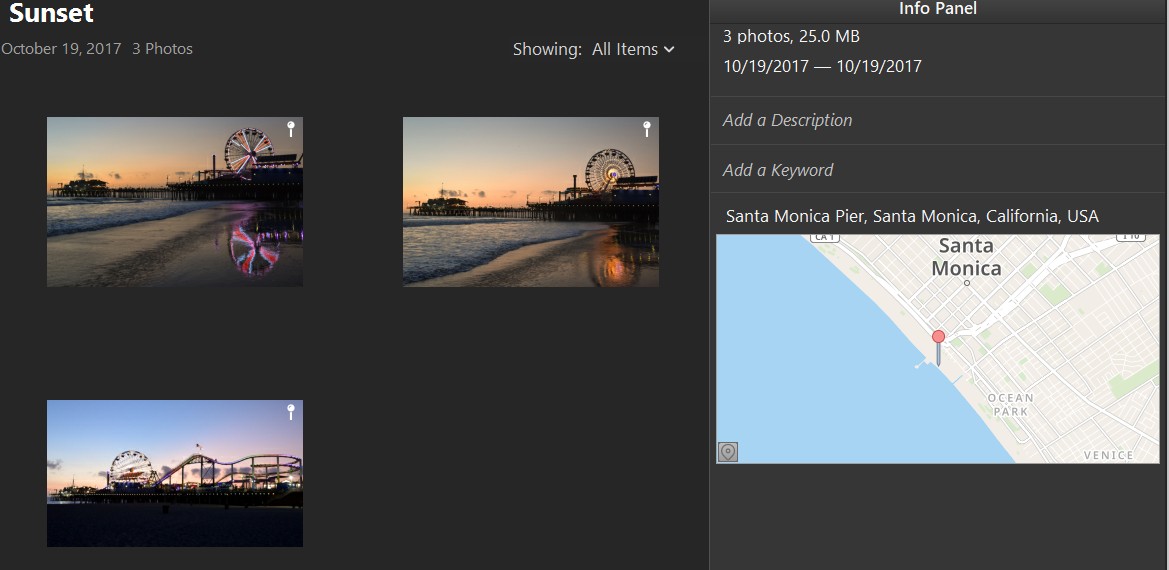
After you click the location “Santa Monica Pier” in the list, Phototheca updates metadata in images, and the Info Panel can show location data:
Set location data manually
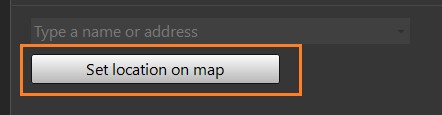
When photos were shot in the wild, or a place on photos has no name, you still can geo-tag such images with Phototheca. Select one or a few photos, click the “Assign a Location” button on Info Panel, and then click “Set location on a map.”
Another way is to right-click on a photo and go to Places->Assign a Location:

You will be presented with a dialog:
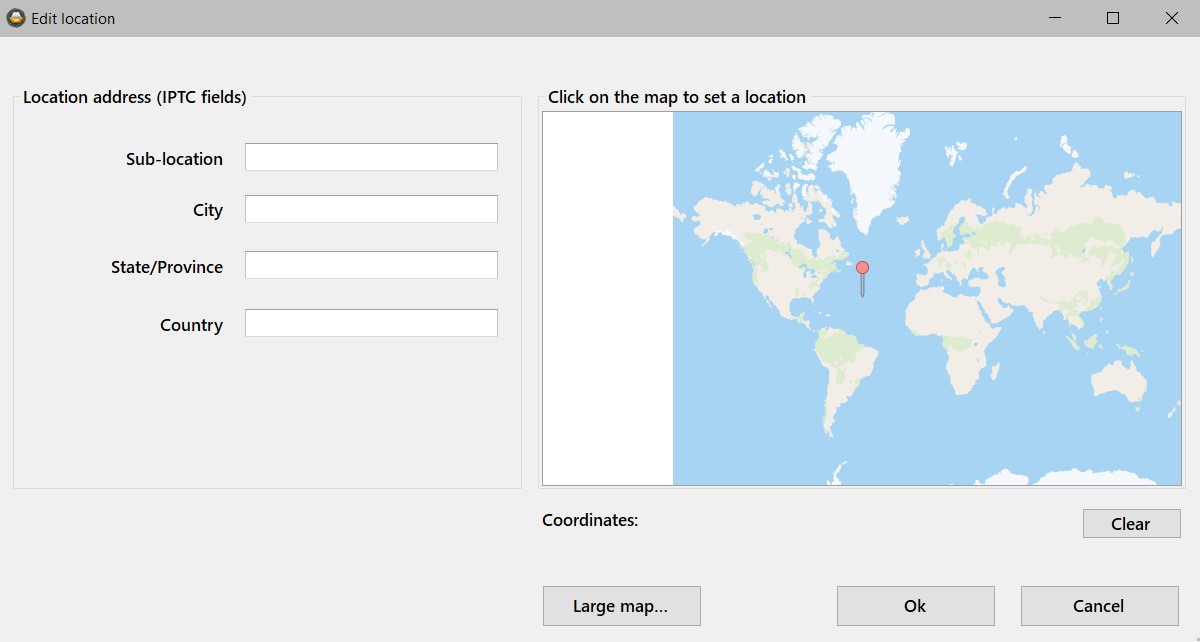
Pan and zoom the map to find the exact place where a photo was shot, and click to set a pushpin:
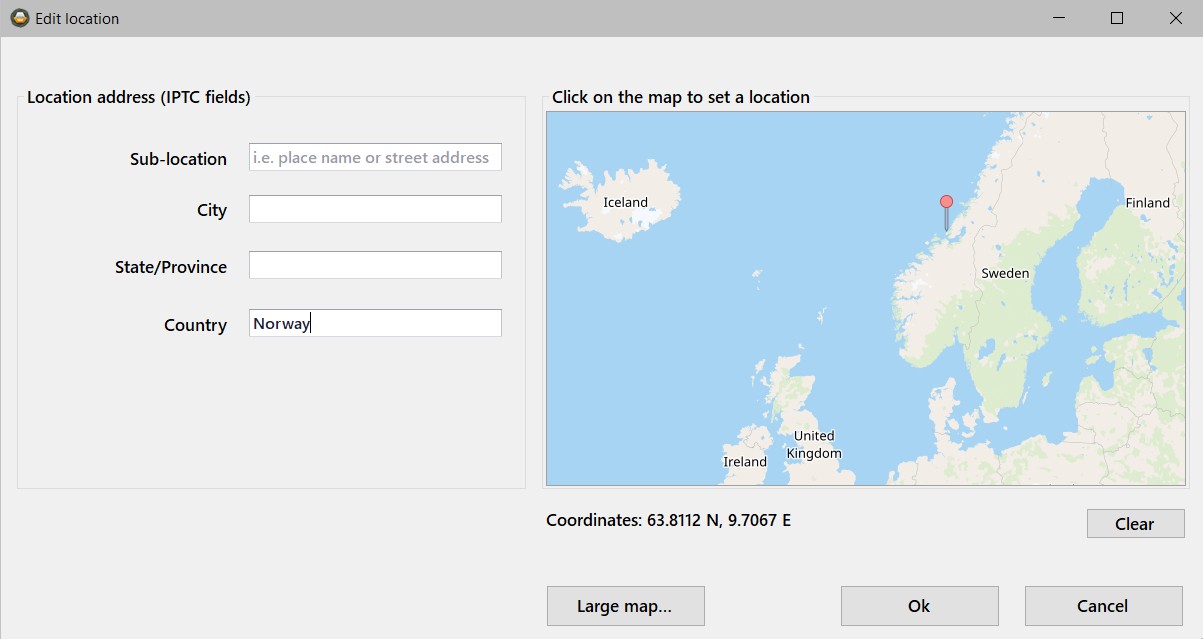
Also, you can provide IPTC data, at least that relevant portion.
Click Ok, and metadata will be added to the image files.