With this feature, you can upload photos directly from Phototheca right into your Google Photos account. If you want to copy photos from your computer to Google Photos and add photos to your Google account, see the manual below.
Google itself also provides a desktop uploader, the tool Backup, and Sync, which could be used to upload photos as well. Many customers find the Google tool is not flexible enough for their needs. There is a lack of customization and optional features within the Backup and Sync utility. Phototheca provides a much more flexible and convenient solution to upload photos to Google Photos account. With Phototeca, you can create photo albums in Google directly, with images of your choice. Google Photos can store your both photos and videos. It also has a face grouping feature, which automatically collects photos of the same person using facial recognition technologies.
How to share photos on Google Photos
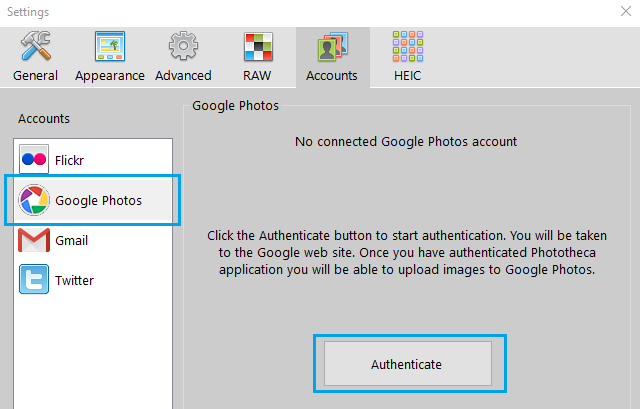
To start uploading photos to Google Photo, you have to configure access to your Google Photos account first. Follow the next steps to configure the access:
- Go to menu Edit→Settings→Accounts→Google Photos
- Click the “Authenticate” button
3. A browser will start and load a page by Google where you can grant the Phototheca Uploader app rights to upload new photos to your account.
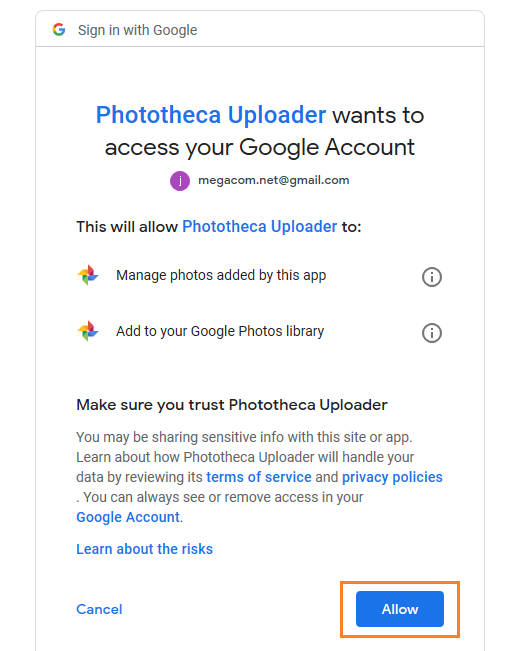
To upload photos on your behalf to Google Photos, Phototheca uses an intermediary app, Phototheca Uploader, which gets minimal access to your Google Photos account and can upload new images only without having any access to existing photos. This is following a security model set by Google.
Having configured your Google Photos account in Phototheca, follow the next steps to upload photos to Google Photos:
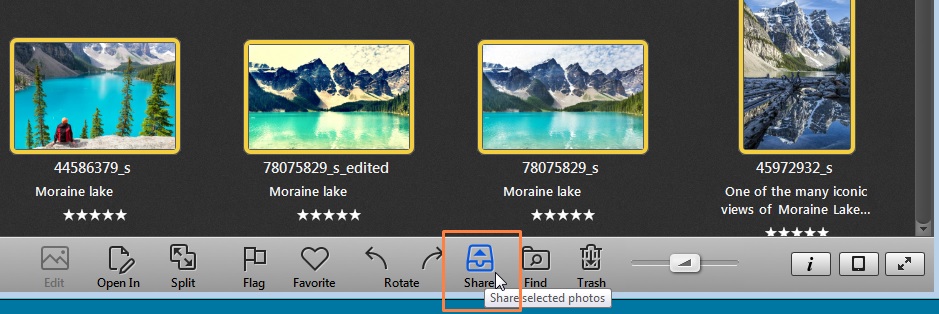
- Select photos to upload
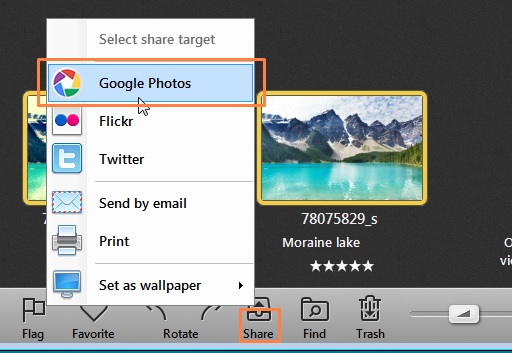
- Click the “Share” button on the toolbar, and then select “Google Photos.”
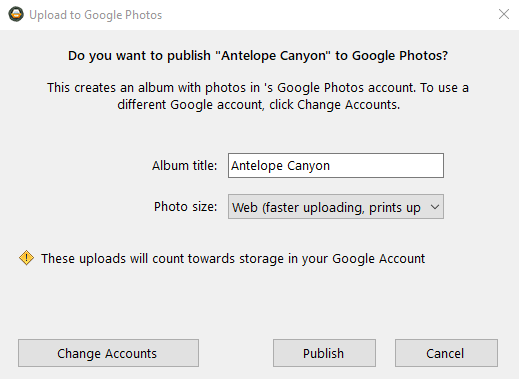
- Provide a title for an album that will be created in Google Photos
- Select the size of photos to upload
- Click the “Publish” button
Sharing options
You can specify if you want to upload photos with high quality(original quality) or smaller copies, which take less space. Also, before upload photos, you may want to tag people on the photos, using one of many face tagging options available in Phototheca. Google detects face tags within Jpeg photos and utilizes tags to organize your photo library online. Be aware that your uploads will count towards your Google Drive quota. Photos will be uploaded into the newly created album in Google Photos with a name that you typed in.
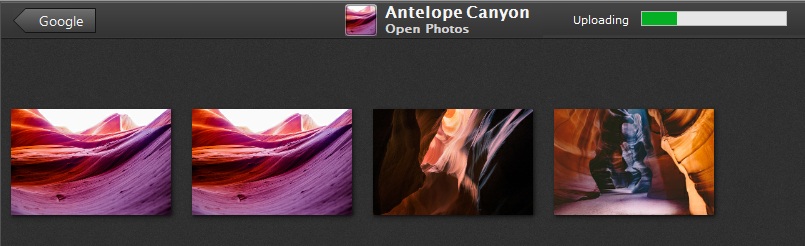
After the click, a new Album will be created in the Web/Google section of the Library, and you will be taken into that Album. The upload starts automatically, and the progress of the upload is shown on the progress bar on the right side of the title bar.
Once the upload is complete, a clickable link to the newly created album will be shown on the title bar.
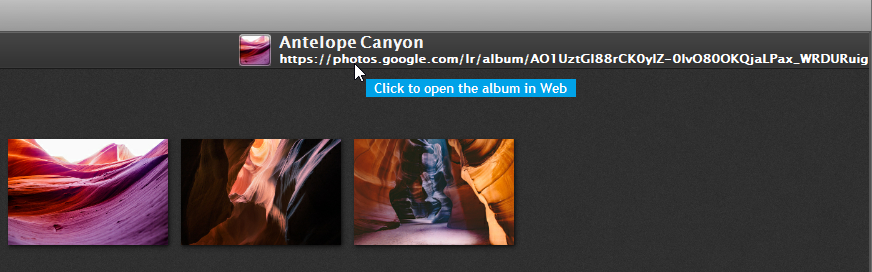
Click the link to open Google Photos and get right into the newly created album. You can access a new album via mobile Google Photos app, on iOS or Android mobile devices.