Photos of different persons or event objects can appear in a single-person stack after AI finishes the recognition processes. The technology is not perfect, but it’s easy to fix those mistakes in Phototheca.
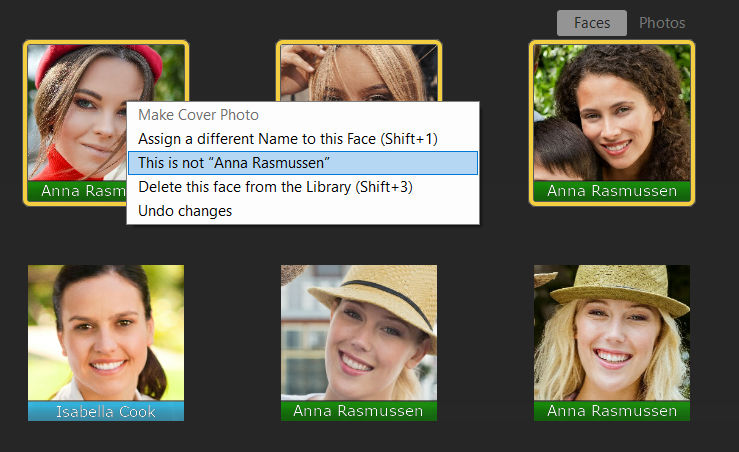
To start fixing an issue, double-click a person from People view so you will see all faces of that person in one place. From this view, you can start making changes and correcting mistakes. The process is equal to the one within unnamed stacks. For example, we have the setup in the screenshot below:
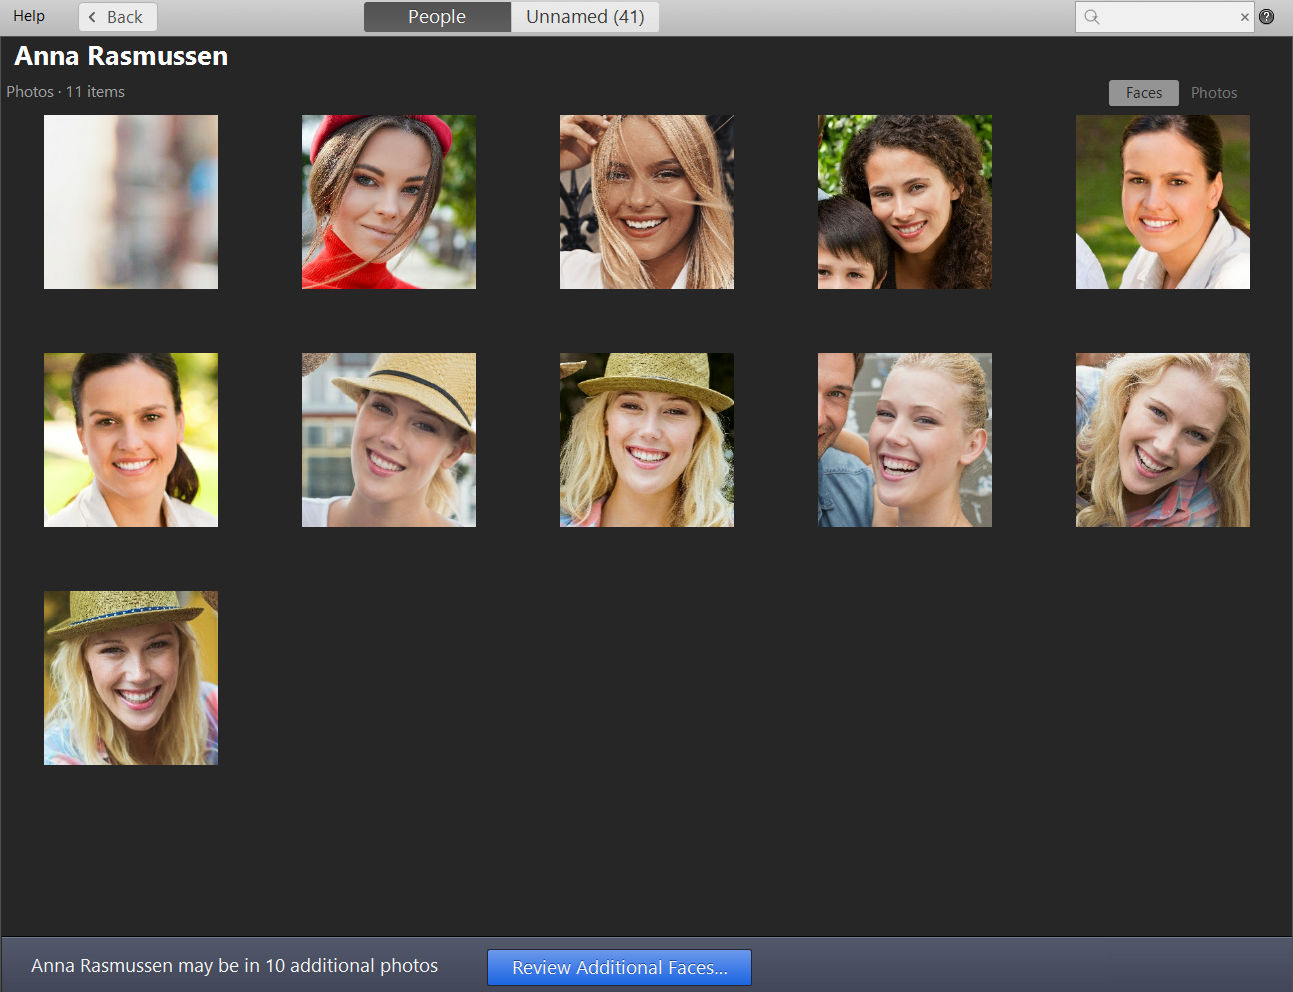
Different faces or images fall under Anna Rasmussen, while only the last 5 photos are faces of Anna Rasmussen. Let’s fix these issues.
There are a few options available to correct mistakes:
- Assign a different name to a face
- Mark that a face does not belong to this person
- Delete a face from the Library
Select one or many faces that do not belong to this person. Right-click with a mouse on selected photos and select one of the options:
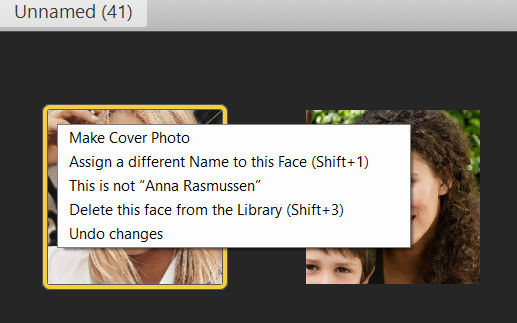
Each option is described below.
Assign a different Name to this Face
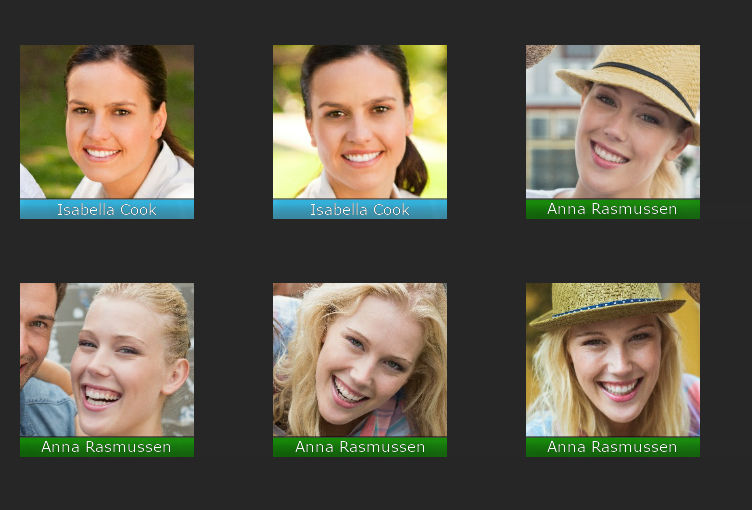
If there are faces of another person which you know and want to have in People View, you can immediately assign selected faces to that person. Then you will be asked to provide a name for that person:

Type in a name, hit Enter, and selected photos will be tagged with a blue color and a new person’s name:
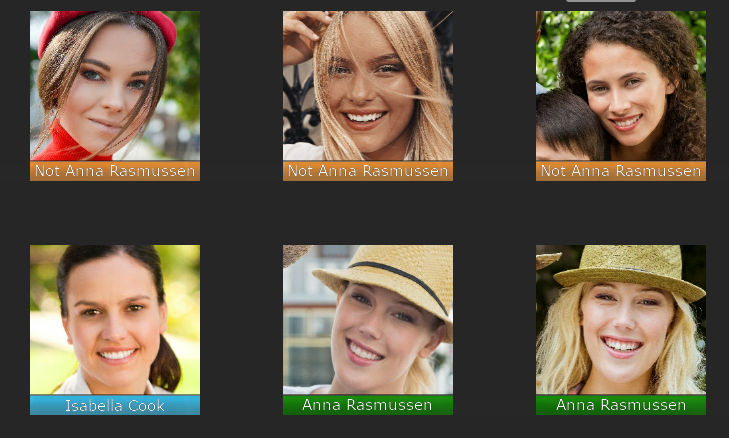
This is not a “<person name>”
Use this option if you want to remove selected faces from the current person and send them back to the Unnamed section.
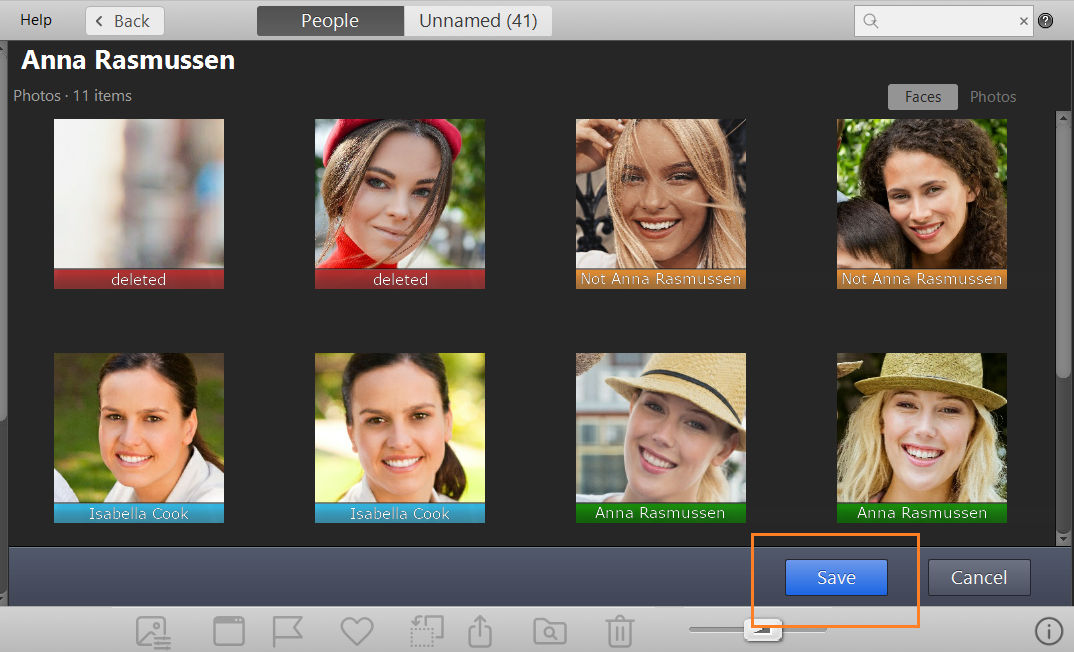
After you choose this option, the selected photos will be marked with orange tags:
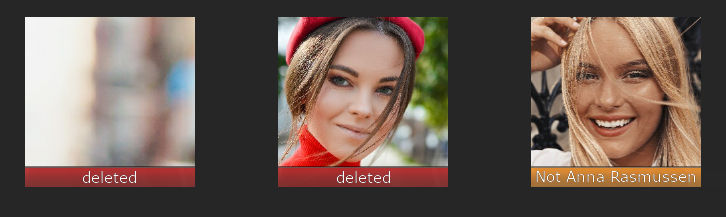
Delete this Face from the Library
If there are unwanted faces of random people or even blurry objects in a person’s stack, you can delete them from the Library. Select faces, click ‘’Delete this Face from the Library,” and those faces will be marked with red tags:
Save changes
When you are done making fixes, you have to save your work. Click the button save on the bottom bar to apply all changes to the person’s faces.