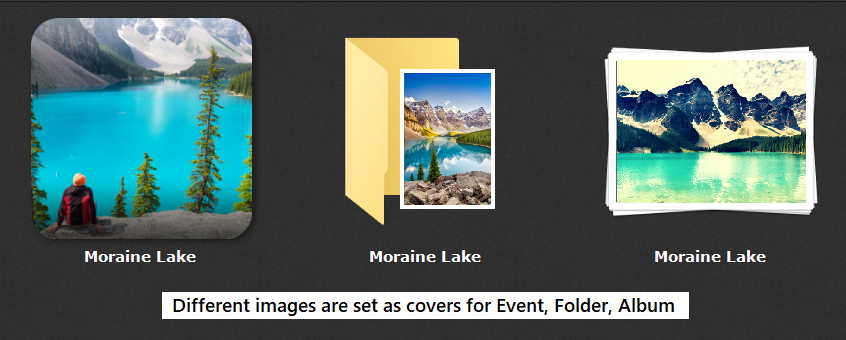
For Library items in Phototheca that contain multiple photos inside, users can set a cover image – a photo that will be displayed as the cover of an item. You may want to set a distinctive and impressive image as the cover for Events and Albums to get a more brilliant and attractive look for the whole Library.
Items that can have a cover image are Event, Album, Smart Album, Live Album and Folder.
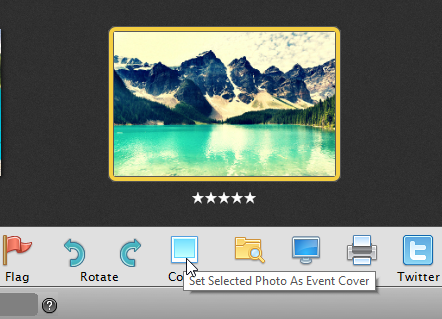
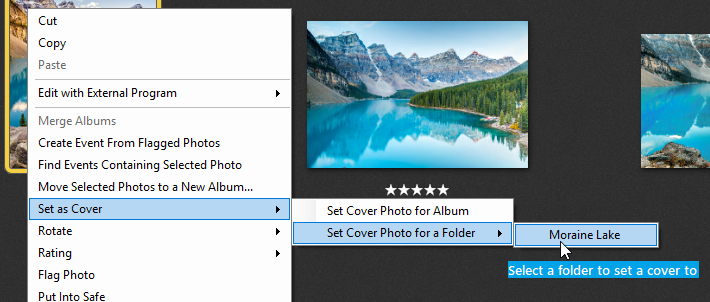
To set a cover for an Event, Album, Smart Album, or Live Album, get into the item, select a desirable photo, and click the “Cover” button on the toolbar. The cover of the item will be set to the selected photo immediately. Another option is to use the context menu of the photo and hit “Set as Cover”->”Set Cover Photo for Album.”
This works a bit differently for a Folder. Because a Folder can contain multiple nested Folders and Albums, we need a way to specify the exact Folder we are going to set a cover image for.
To set a cover for a Folder, first, navigate to a desirable photo at any nested Album of the Folder, then right-click on the photo and use menu “Set as Cover”->”Set Cover Photo for a Folder” to pick any available Folders that contain the selected photo.
There is one more way to set a cover image for an Event, Album, Smart Album or Live Album. First, select an item (Event, Album, Smart Album or Live Album), then start moving the mouse cursor above the item, and when a desirable photo is displayed under the cursor, hit the Space key on the keyboard – the photo is set as the cover image for the item immediately.