At this moment you probably have a huge photo collection on one or several drives. It’s time to get them into Phototheca.
To start the import process, go to the menu File->Import To Library to open the import dialog.
You’ll see something like this:
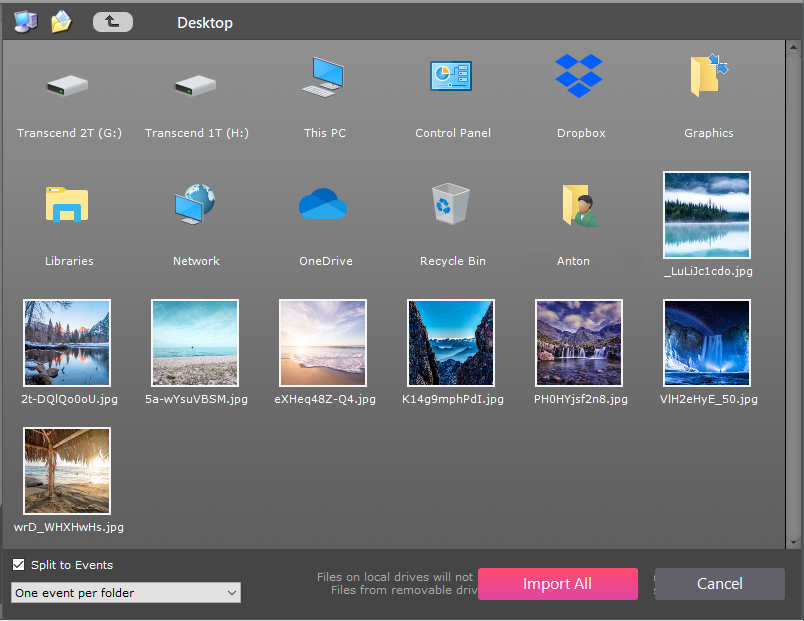
In this dialog, you can browse your disks and folders, find a folder with some or all your photos, and select what you would like to import. You may select both folders and image files, and single or multiple items.
Events creation strategy
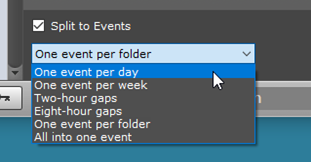
Before starting the import process, it’s time to use the intelligence of Phototheca. The software knows six ways to combine your photos into Events. You may select whichever way you prefer. If you have your folders structure in order and want Phototheca to stick with the order you have, keep the option “One Event per folder” (this is the default).
If your files and folders are a bit of a mess and contain multiple Events inside, let Phototheca split these photos into separate Events based on the time a photo was taken. If you select “One Event per day,” this means all photos shot during a single day will go into one Event, and so on.
When you are ready and have selected your preferred way to split photos into Events, hit the “Import Selected” or “Import All” button.
Import time strongly depends on your PC’s performance, the size of your photos, and the amount. Go enjoy a cup of coffee or tea while Phototheca is working for you. Another hint: If you have a huge photo collection and it takes a lot of time to import, leave the PC to work overnight.