You can crop a photo to improve its composition or eliminate unwanted parts of the image. You can crop it to a preset or custom aspect ratio, or you can constrain the photo to its original aspect ratio. You can also straighten photos that were taken at an angle unintentionally.
Important: Cropping a photo changes its appearance everywhere in Phototheca, including in albums, and slideshows.
- In the Phototheca, double-click the photo, then click Edit in the toolbar.
- Click Crop in the toolbar.
- Do any of the following:
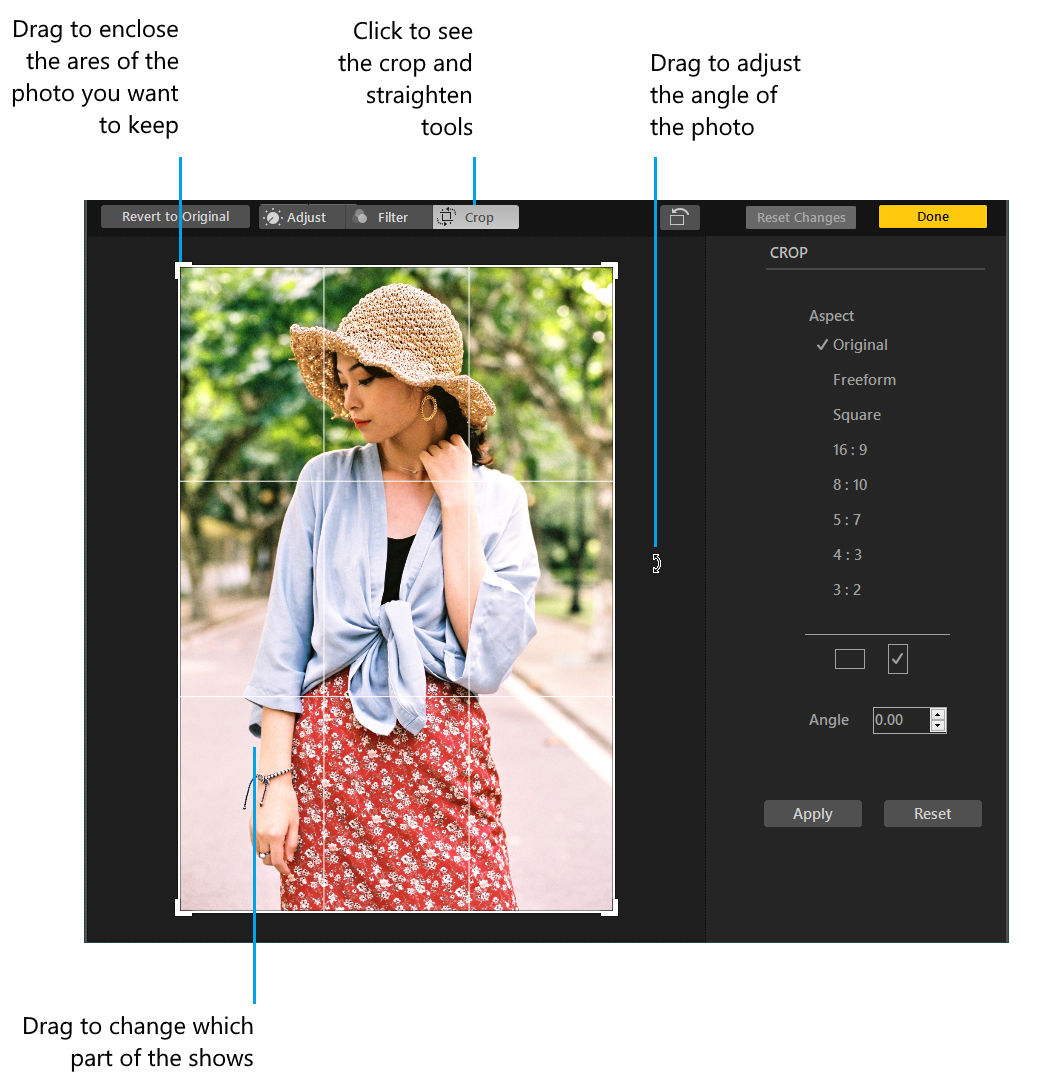
- Crop manually: Drag the selection rectangle to enclose the area you want to keep in the photo.
- Crop to specific proportions: Click Aspect, then choose the aspect ratio you want.
For example, for a square photo, choose Square. For printing the photo, choose one of the preset aspect ratios, such as 8:10. To resize a photo for use in a high-definition video, choose 16:9. Or choose Custom to enter a custom aspect ratio for a photo. - Straighten the image manually: Place a mouse cursor to the left or right side of the photo, until it changes to curved arrows, hold the left mouse button and drag the cursor up or down to adjust the angle of the photo.
- Remove the current cropping or straightening changes: Click Reset.
- When finished cropping, to apply your changes: Click ‘Apply’
- When finished making changes, do one of the following:
- Save your changes: Click Done.
- Stop cropping without saving your changes: Click Reset Changes.